

Professional Interior Fine Finishes in the Capital Region, NY
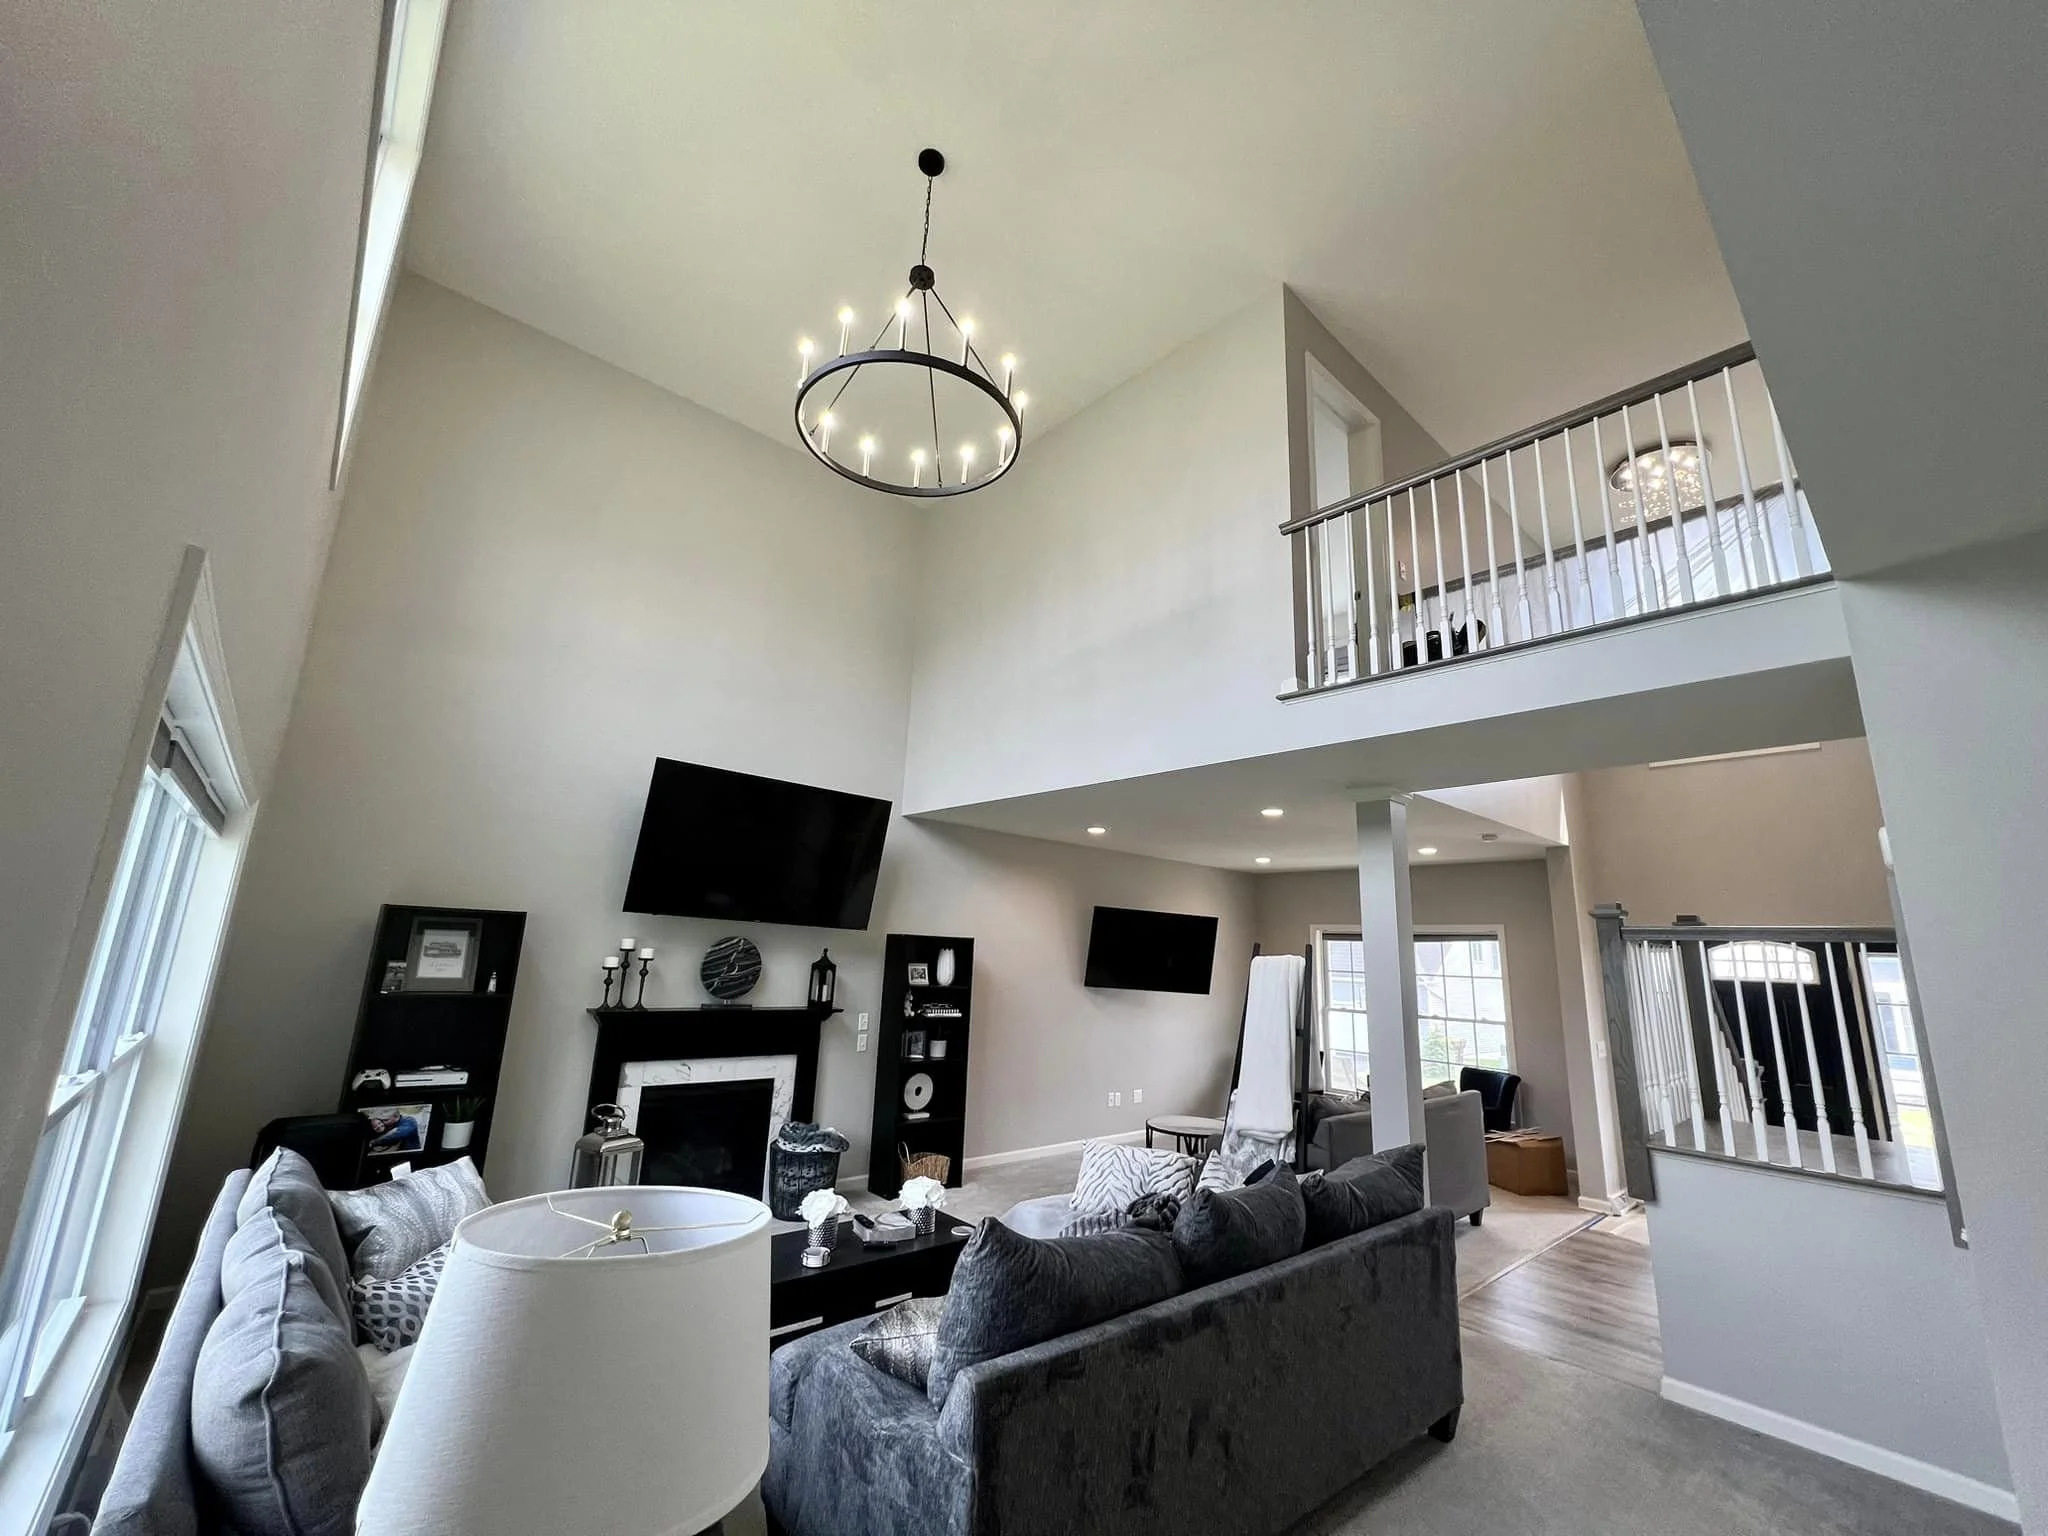
Walls & Ceilings
At Just Right, our wall and ceiling preparation process is designed to deliver flawless, high-end results for commercial and residential spaces throughout the Capital Region, including Schenectady and Albany. We begin by sanding full wall and ceiling surfaces using our advanced dustless sanding system, creating a smooth, uniform substrate while keeping your space clean. Every imperfection is carefully patched, filled, and blended to perfection. After repairs, our team performs a detailed inspection using bright spot lights to catch even the smallest inconsistencies before paint is applied. This meticulous process ensures a perfectly prepared surface, allowing your final finish to lay down smooth, consistent, and beautifully refined.
Our Favorite Paint:
Ceilings: Sherwin Williams Promar Ceiling Flat
Product Upgrade - Fine Paints of Europe Eurolux Matte/Flat
-
Prior to rolling in any equipment, we cover all floors in the work zone and carefully wrap all remaining furniture with plastic. Plastic containment walls and Dustless Hepa Air systems are assembled to protect areas and people beyond our workspace.
With spotlights, imperfections such as dings, holes, nail pops are addressed with the necessary coats of compound until a smooth finish is achieved.
Larger cracks or failing seams are addressed with mesh tape and seam paper followed by multiple skim coats of compound until repair locations are no longer visible.
Using our Festool dustless wall sander, we meticulously sand every inch of painted wall surface to remove built up debris and drips. This gives our finish a fresh new appearance irrelevant of the prior paint application.
All the repairs are primed a minimum of 2 times to prevent flashing (dull appearance visible under certain angles and lighting conditions)
Baseboards and interior doors are draped with paper and plastic to prevent cast off from roller upon painting.
2-3 coats of ceiling and customer choice wall color are cut and rolled ensuring sharp edges and even wall coverage upon rolling.
Detail Clean up!
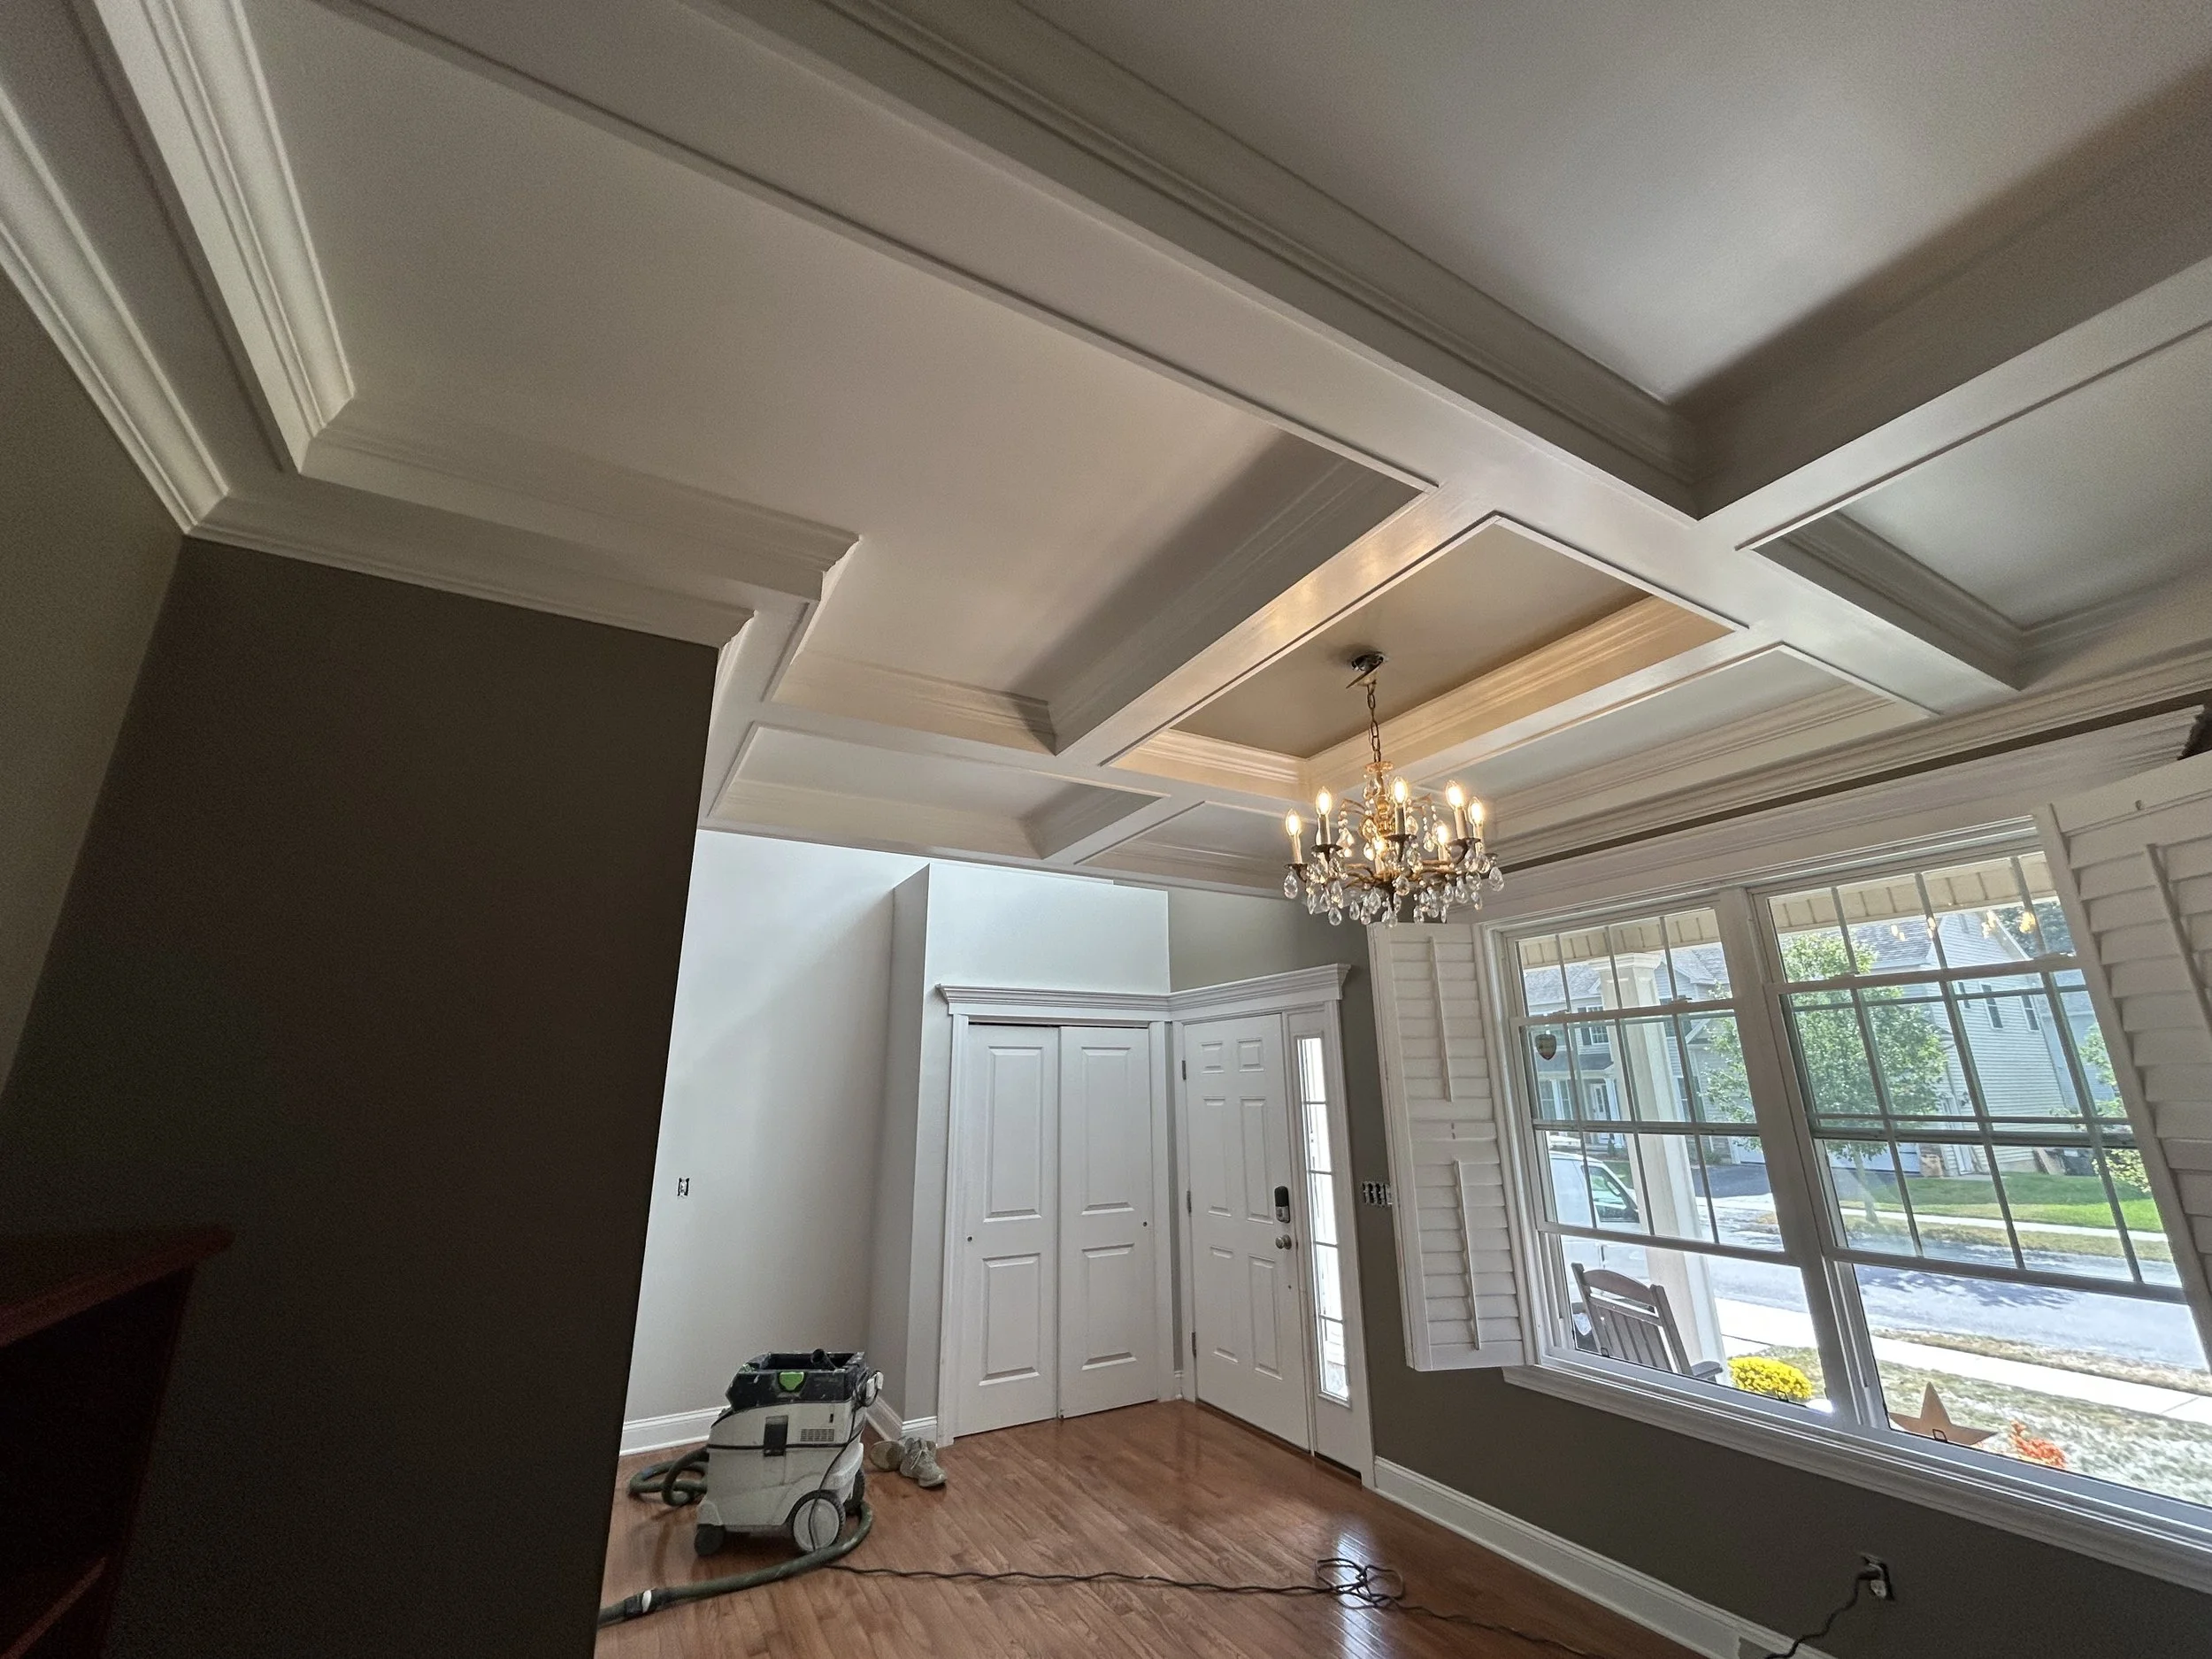
Trim & Doors
At Just Right, our trim finishing process is built around precision, protection, and craftsmanship that consistently outperforms standard methods. We begin with meticulous surface preparation—thorough controlled sanding, detailed profiling, and careful inspection—to ensure every linear inch of trim is smooth and perfectly conditioned for coating. Your space is protected with professional-grade masking, floor coverings, and containment systems that isolate the work zone and keep dust away from unaffected areas. When it comes to finishing, we use advanced spray techniques that deliver an ultra-smooth, factory-level finish with superior adhesion and durability. Unlike traditional brush-and-roll applications that leave visible strokes and texture, our spray system creates a flawless, glass-like surface built to withstand years of wear. From prep to protection to final coat, every step is executed with consistency, cleanliness, and an eye for perfection—resulting in trim that elevates the entire space. Serving Albany, Schenectady, Troy and the surrounding Capital Region our interior painting experts deliver flawless results for homes and businesses alike.
Our Favorite Paint:
Sherwin Williams Emerald Urethane Trim: For its coverage and Durability!
Fine Paints of Europe: Eco Satin: High end product upgrade available upon request!
-
First step is always the prep, we wrap all “Non-painted” surfaces with the appropriate tapes and plastics. (windows, furniture, etc.) At this time while covering floors all trim surfaces are vacuumed and wiped clean with multi surface or degreasers if necessary.
All trim surfaces are inspected thoroughly for imperfections. Larger holes are filled with 2-part epoxy wood filler to create a hard surface and prevent shrinking, these areas and smaller imperfections are later skim coated with 3M Bondo Glazing Putty to blend into a seamless finish.
All trim surfaces are sanded smooth, Trim in good condition is still lightly scuff sanded to promote adhesion for future coatings. Clean thoroughly ensuring dust free surface.
Spot prime repair locations and lightly sand smooth.
Caulk all exposed gaps and seams. Inspect and 2nd coat where needed.
Assemble paint ventilation and extraction systems.
Spray finish 2-3 coats in color and product of choice
Wrap with paper to protect during the remainder of our painting process for walls/ceilings.
Premier Cabinet Painting
Our cabinet refinishing process is designed to deliver a durable, high-quality finish that stands the test of time while minimizing disruption to your home. To ensure efficiency and reduce workspace impact, we finish cabinet faces, doors, and drawers off-site in our professional shop. From meticulous preparation to applying two coats of primer and two topcoats, we strive to have your kitchen fully functional again in as little as three days.
Our commitment to perfection means we never cut corners. We sand every surface four to five times total, once between each coat, achieving a smooth, glass-like factory finish. For added durability, we offer premium product options, including 2K paint and primer systems (two-part paint and hardener) that create a rock-solid coating capable of withstanding heavy use. Trust us to transform your cabinets with precision and care.


-
Remove door and drawer faces ensuring to label with the corresponding opening to assist during reinstall, Package carefully for transport. Remove hardware, bag and label with corresponding location.
Clean all cabinet surfaces thoroughly with degreaser.
Prep jobsite with the appropriate tapes, paper, paper and plastics. Seal off inside of cabinet openings. Assemble plastic barrier wall dust extraction/ventilation systems.
Dustless sand surfaces until a smooth finish is achieved and clean thoroughly.
Spray finish 1st coat of primer of choice.
Skim all imperfections, visible wood grains, and seams with 3M Bondo Glazing Putty (Automotive Filler) and detail sand.
Wipe with damp rag ensuring dust free surfaces and spray finish 2nd coat of primer.
Dustless sand with 320 Grit papers ensuring to get all details and corners. Clean with Damp Rag.
Spray finish 1st coat of choice topcoat. Repeat last 2 steps 2-3 times until a glass like finish is achieved.


Just Right Tools for the Job
At Just Right, the safety of our customers and workers is our utmost priority. We believe that having the right tools is essential to ensuring this safety. Our dustless sanding systems, HEPA air filters, and job site setup techniques are designed to maintain clean air and dust-free surfaces in your home, promoting a healthier and more comfortable environment for all.